Install OpenCV 4 on macOS using Homebrew

This is my note on how to install OpenCV 4 on macOS with Homebrew. I tested this tutorial on my Macbook Air 2020 with Apple silicon (M1 chip). When using Ubuntu, you may have already use apt, the popular package manager for Debian, on Windows, we can install Chocolately as the package manager. How about macOS? Homebrew claims that it is "The Missing Package Manager for macOS", and this tool can be used to install OpenCV on a mac without a lot of effort on settting up and building from source. This tutorial will point out how to install OpenCV with brew.
OpenCV for Python
If you want to use OpenCV with Python only, just use pip to install OpenCV. This guide is for installing OpenCV and use it with C++.
pip3 install opencv-python
Or if you want to have contrib package with your OpenCV
pip3 install opencv-contrib-python
You can replace pip3 with pip to install OpenCV for Python 2.7 on macOS. As usual, I recommend you to install Python package in a virtual environment, which can be created using venv or Conda.
Note for M1 chip: OpenCV-Python has added support for M1 chip from July, 2021, and packages for Apple M1 are only in stable state recently. Therefore, please consider using a new OpenCV version.
Install using conda: If you want to install OpenCV in a virtual environment of conda, go through step 1+2 below to install brew, then install miniforge (conda), create a virtual environment, and install OpenCV there. Install miniforge
brew install miniforge
conda init zsh
After above steps, you have installed miniforge and initialize it for zsh, open another terminal for below steps:
conda create -n cv python=3.8.6
conda activate cv
conda install -c conda-forge opencv
This will help you create a virtual environment named cv, with Python 3.8.6 and install OpenCV here. That's how to get OpenCV for your Python. If you want to install OpenCV for C++, please go through following steps.
Step 1: Install XCode
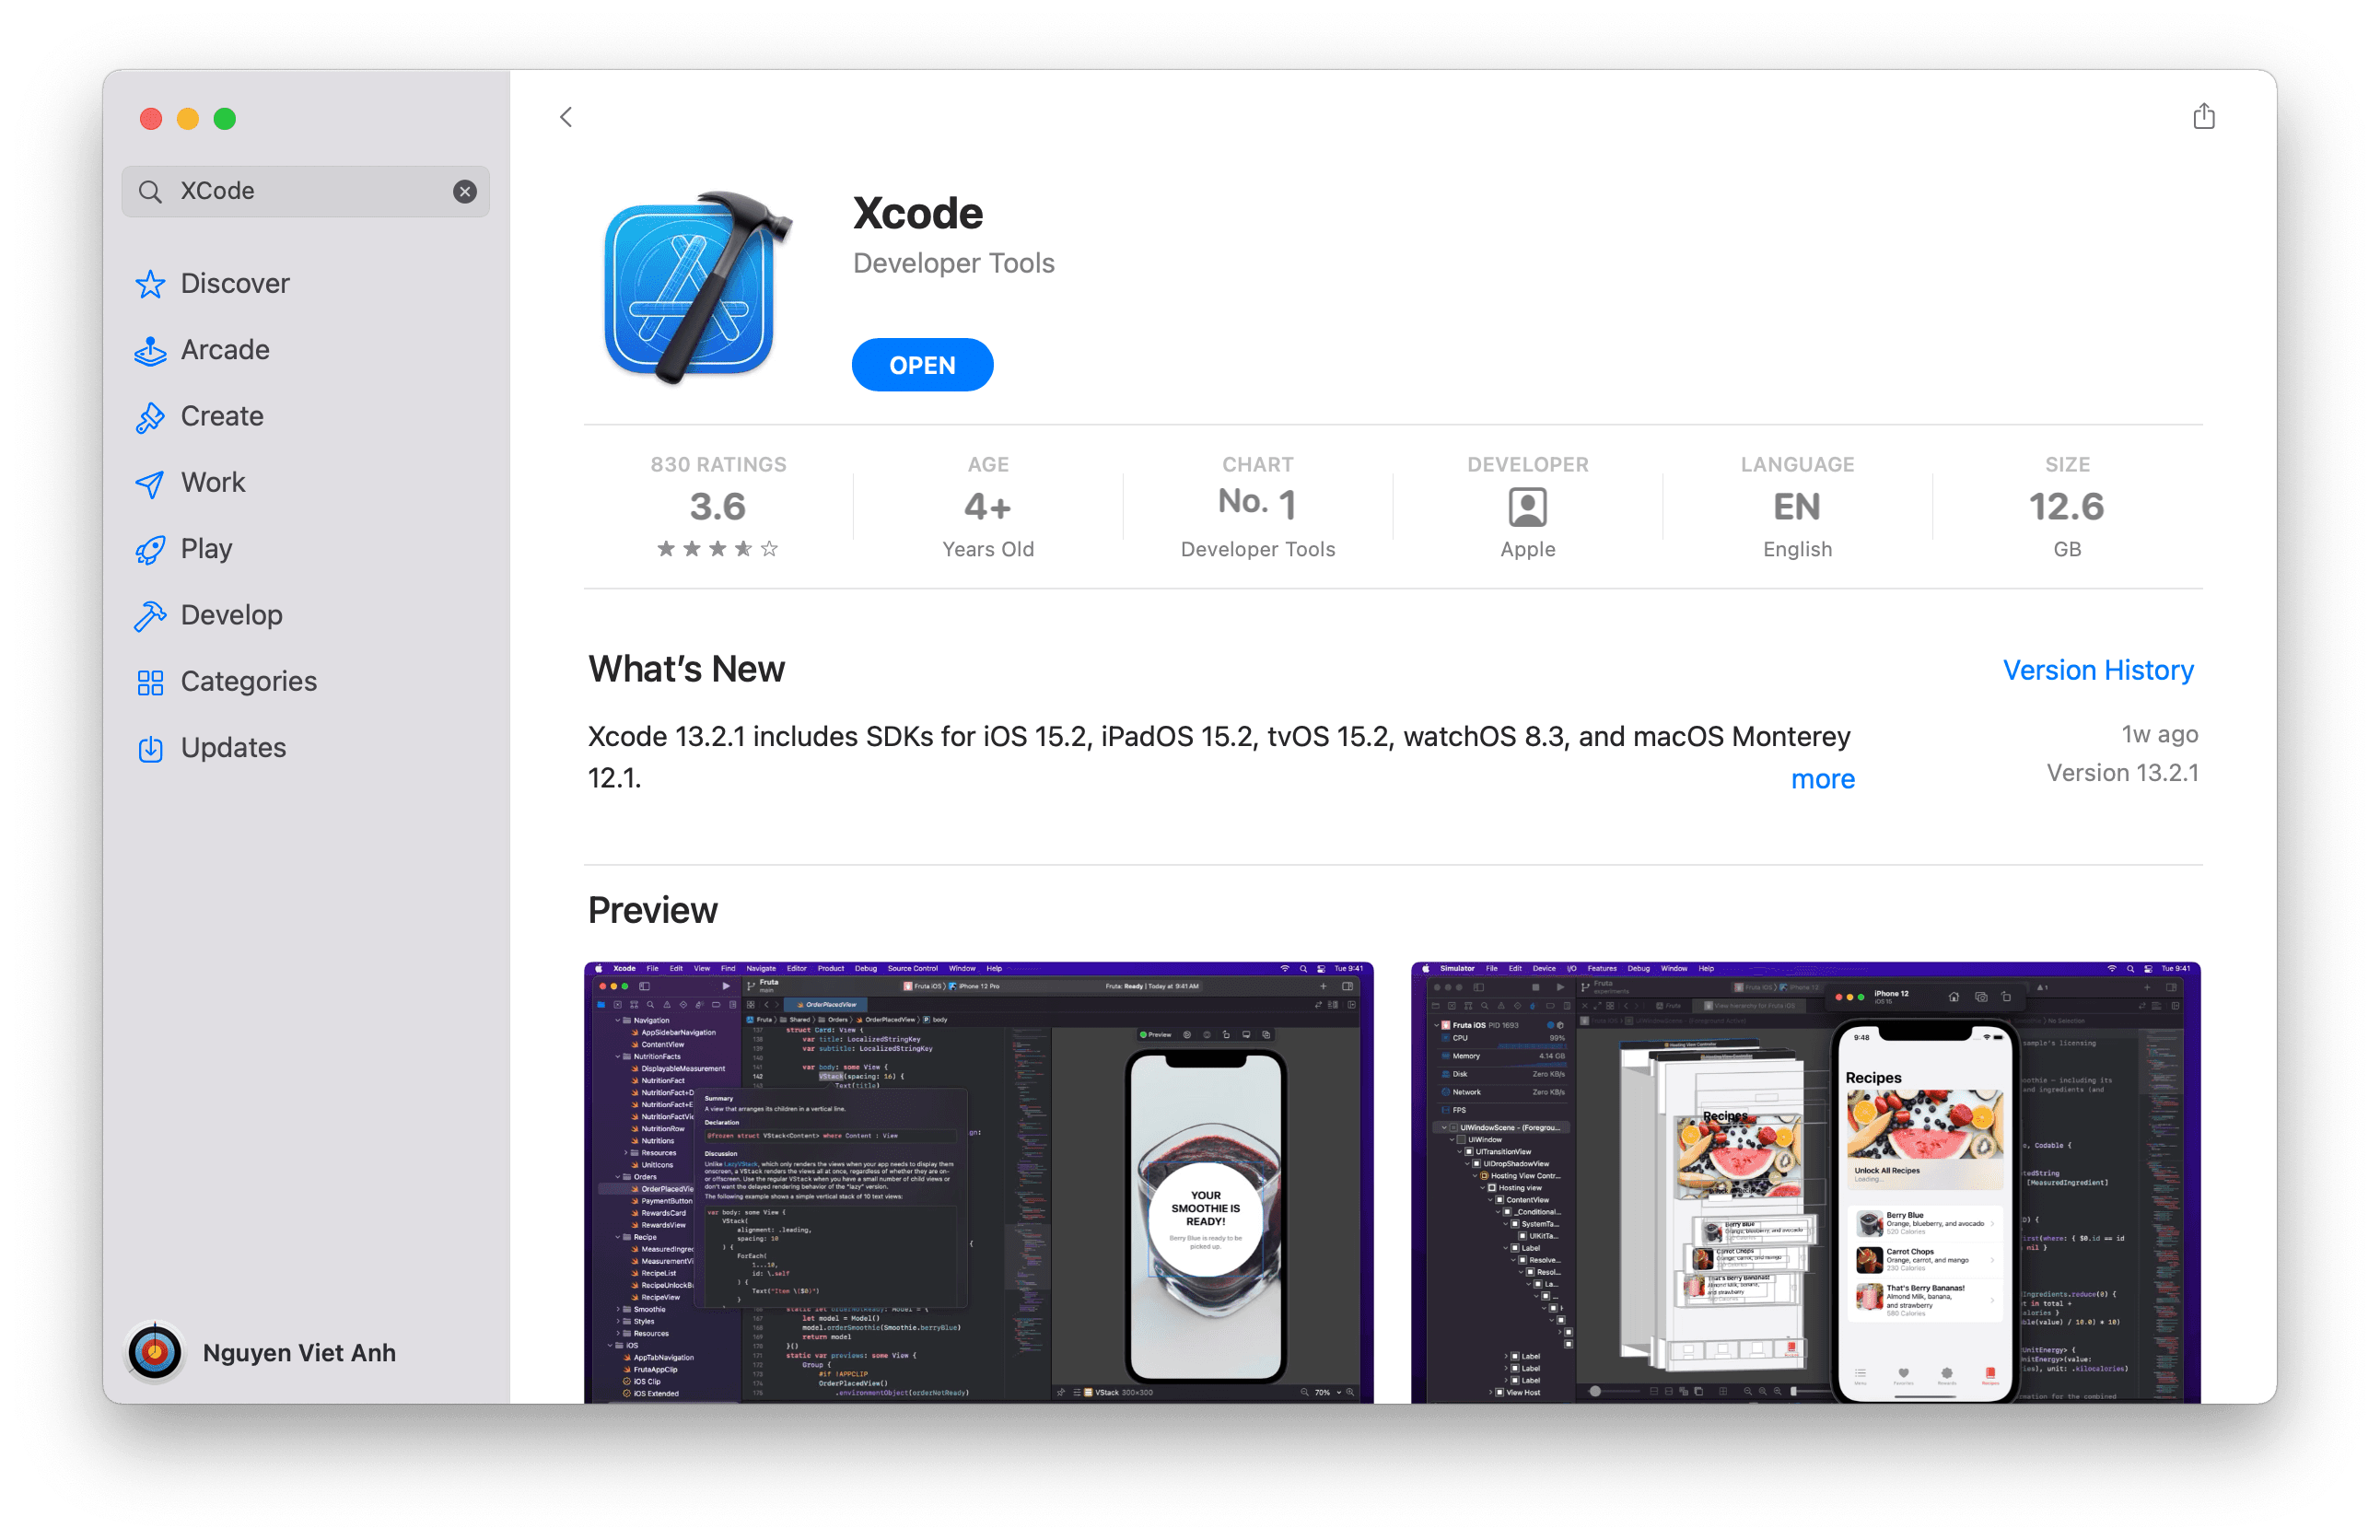
If you have already installed XCode and Homebrew, you can skip this step. XCode is a set of development toolkit developed by Apple, which you will need to install on your development machine. To install XCode, go to App Store on your machine, search for XCode and get it installed.
It takes me a long time to install XCode. The installation pack can be > 12GB, depending on the version you try to install. Take a coffee and relax, or keep doing other tasks on that time.
After installing, you may want to open XCode or use commandline to accept the developer license. You can do this by typing into Terminal:
sudo xcodebuild -license
Scroll to the bottom and accept this license. In the recent XCode version, fortunately, you can use following line to accep the developer license quicker:
sudo xcodebuild -license accept
Step 2: Install Homebrew
After installing XCode, our machine is ready to install Homebrew now. Copy and paste this line to install it (I took it from Homebrew homepage):
/bin/bash -c "$(curl -fsSL https://raw.githubusercontent.com/Homebrew/install/HEAD/install.sh)"
Add Homebrew to the PATH:
One more important step after installing Homebrew is to add it to you PATH. In the current version of macOS, ZSH is the default shell, so:
echo 'PATH="/usr/local/bin:$PATH"' >> ~/.zshrc
If you are using Bash, replace ~/.zshrc with ~/.bash_profile.
echo 'PATH="/usr/local/bin:$PATH"' >> ~/.bash_profile
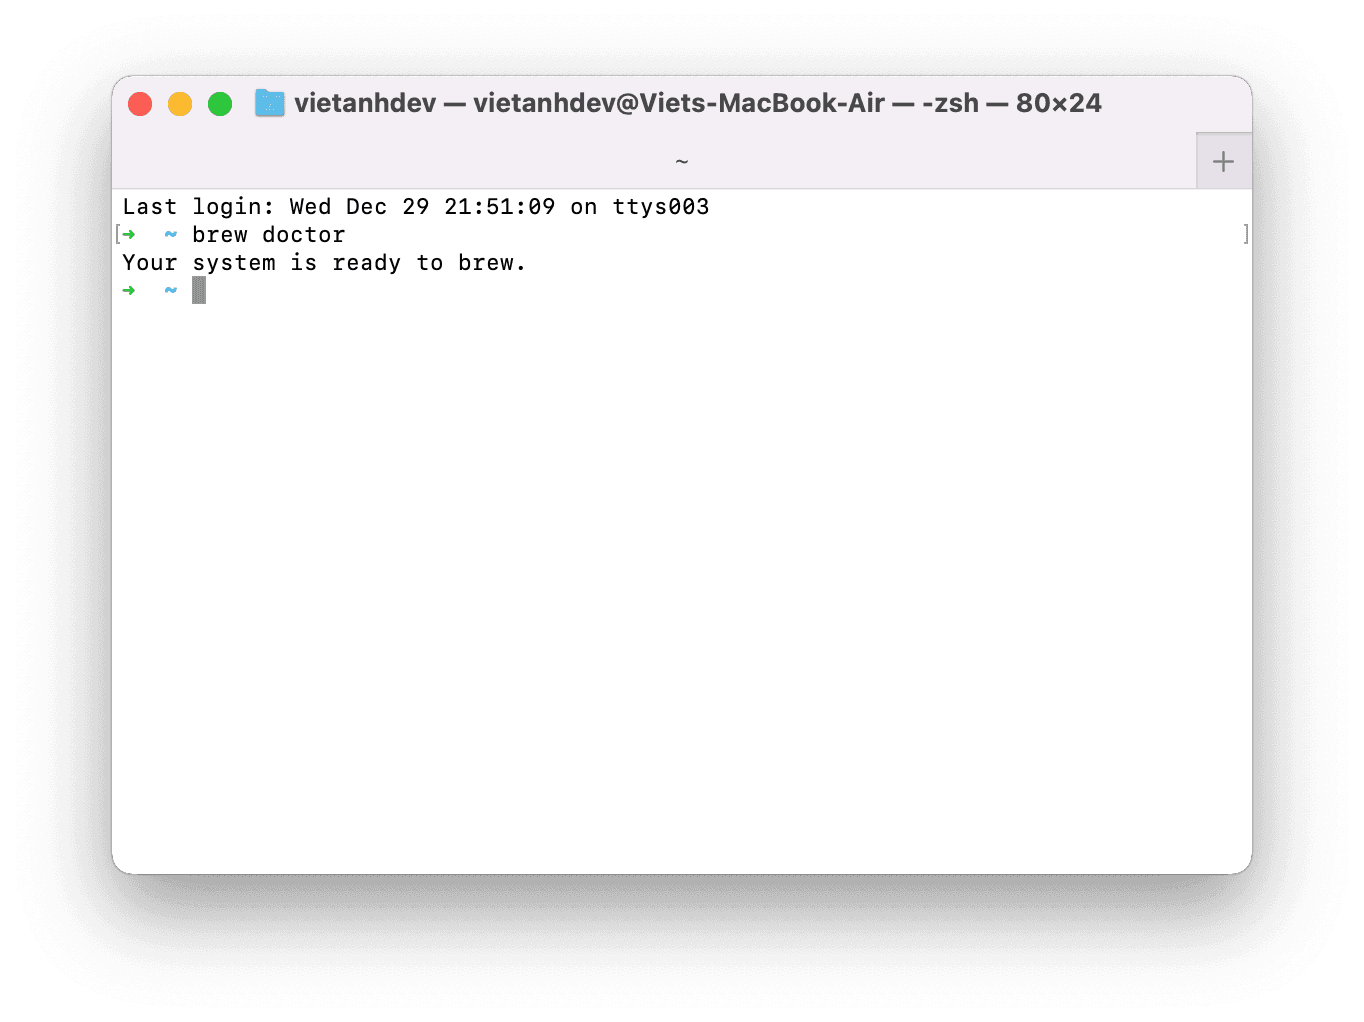
After this step, open a new Terminal to use Homebrew. One more tip is that you can use brew doctor to check your brew installation.
Step 3: Install your OpenCV
Finally, you can now install OpenCV with your brew. The package information for OpenCV is available here. The current version of OpenCV on Homebrew is OpenCV@4.
brew install opencv
As in the formula page of OpenCV package, you can consider two options:
--with-contrib: Build with contribution package, which additional features for OpenCV
--with-java: With Java support
To use both of these options:
brew install opencv --with-contrib --with-java
Now just wait for OpenCV to be installed by Homebrew. This will not last long.

Congrats! OpenCV is now installed on your machine. You can use it with your next computer vision projects.